Schema: Creating and Inserting It into a Squarespace Website
Overview
Modern online reputation management has changed dramatically over the years. Today, one of the core activities is “relevance engineering”. Simply put, we are training search engines to better understand the relationship between entities. An entity can be a person, thing, service, idea, or something else. One way to make the relationships between entities obvious to the AI systems that drive today’s search environment is to make the relationships between aspects of an online entity clear.
A person is an entity. We often want to make it clear what other web properties are related to that person. When a person controls a website (for example, JohnSmith.com), and search engines rank that site highly, we know that the site has “authority” for a query about that person. We leverage that authority by creating associations between the site and other sites about that entity. One tool we use for that is website schema.
This article shows you how to help search engines associate an entity with the correct web properties when Squarespace is your website platform.
Overview
We are going to walk you through the following steps that will include the creation of schema using a third-party generator, and then pasting it into the correct place on your Squarespace website.
- Understand what schema for a person is.
- Use an online schema generator to create your schema
- Test your schema using Googles schema tester
- Insert your schema into your Squarespace website
Step 1: Understand the “Person” Schema
There are many types of schema that can be used on a website to inform search engines about the entity (in this case, a person). Some of these types include “organization”, “local business”, or “person”. The Person schema type should be used for people. For instance, if you’re a freelancer, artist, author, or public figure. It includes fields for your name, job title, and contact information and can become quite complex. In this demonstration, we’ll keep it simple and just include one important aspect called sameAs for social media.
Step 2: Generate your person schema markup
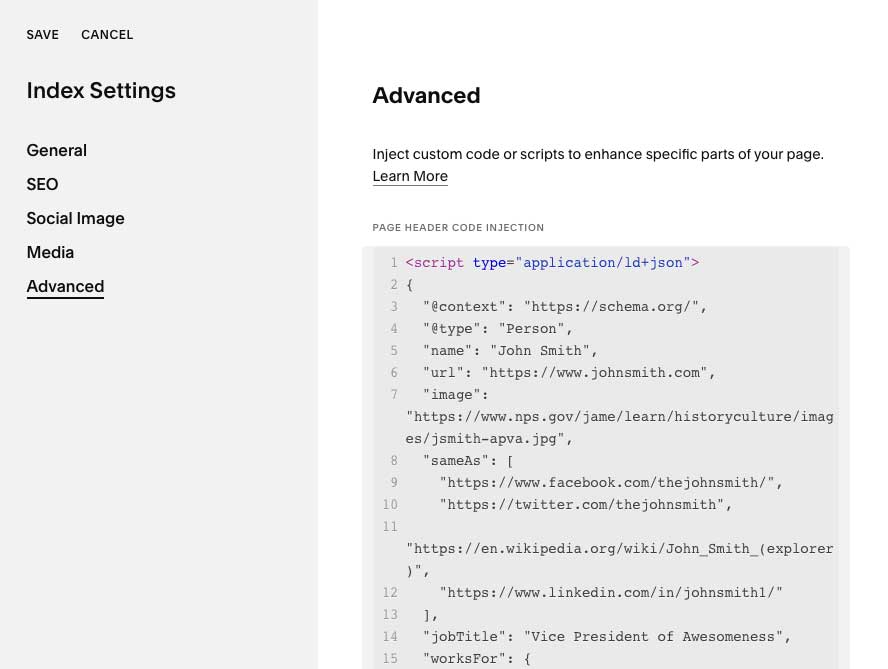
Here’s a minimal example of what your Person schema might look like when you are done. Yours will probably have a bit more to it, but this is to show you how it should look in general:
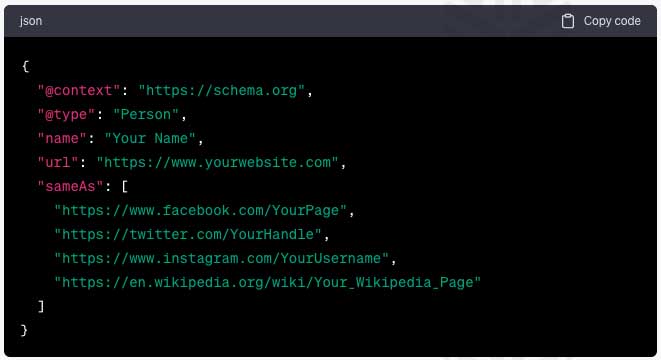
To better understand the above example, just replace “Your Name” with your actual name, “https://www.yourwebsite.com” with the URL of your website, and the URLs in the sameAs field with the URLs of your Facebook, Twitter, Instagram, or any other social media URLs, and, if you have one, your Wikipedia page URL.
Creating the schema
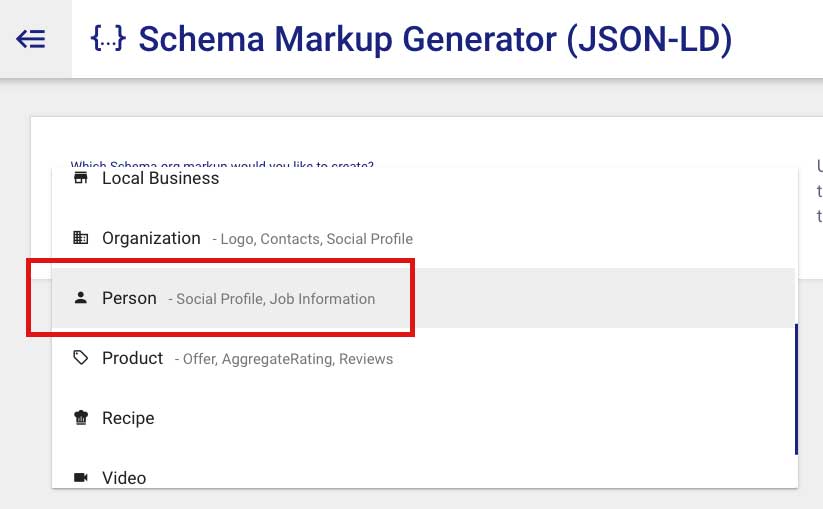
Use this generator (click the link to open a new window) to create your schema markup for a Person.
Select Person from the list (scroll down if necessary)
Fill out your name, a URL to an existing headshot somewhere on the we (like your website), and select the social media profiles you already have. If you have Wikipedia, select that too. This will populate the form with more places to put the URLs to those web pages. It looks like this:

Now, fill out your Job Title, and fill in the URLs of the social media and/or Wikipedia URLs. Once you are done, it will look something like this:
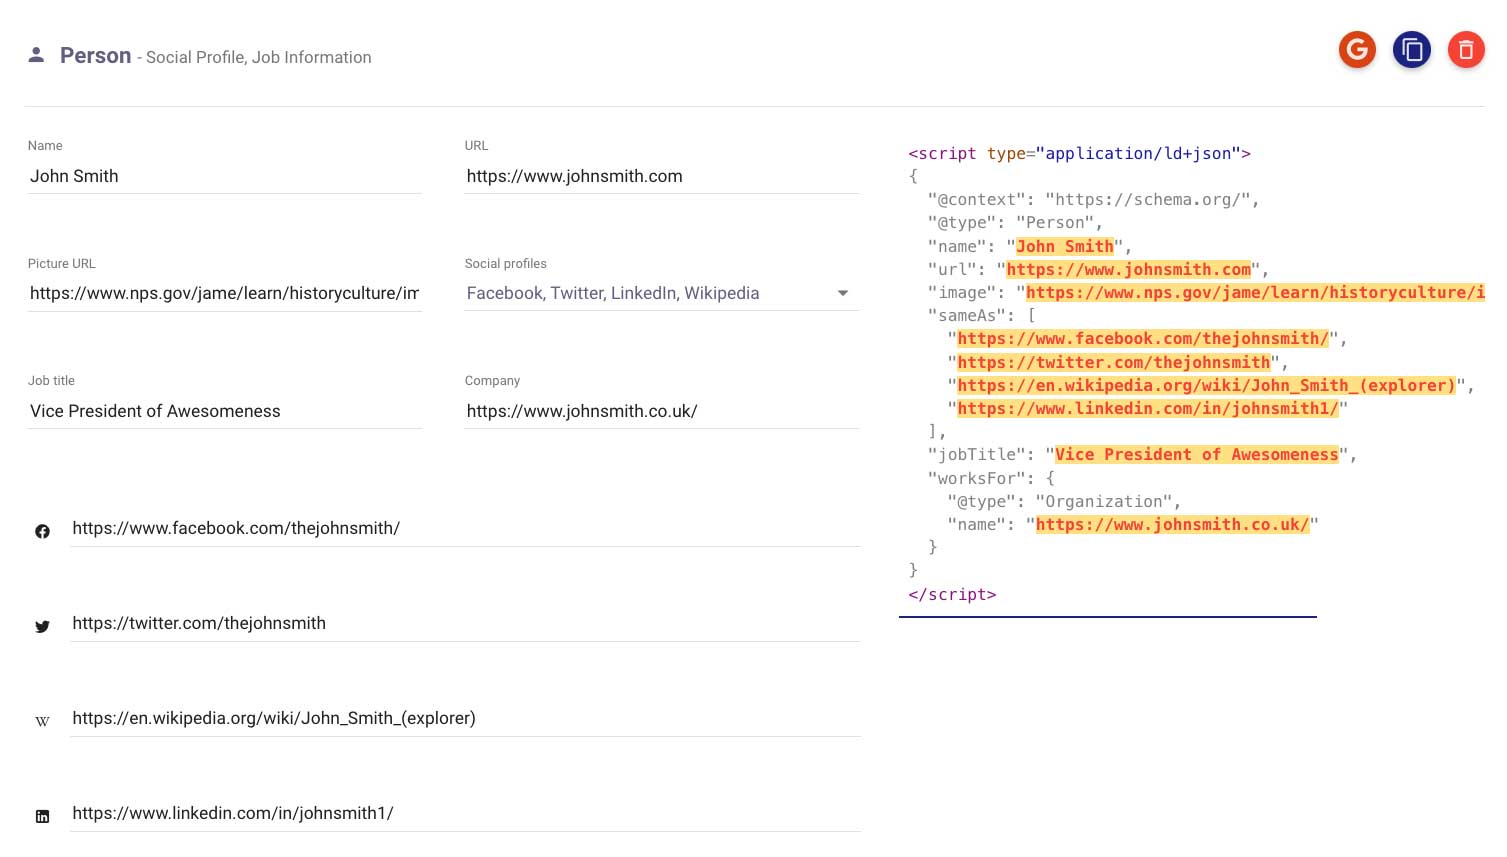
Now, copy the code on the right. All of it.
Step 3: Test the new schema to make sure it works
Go to the Schema Markup Validator here.
Click “Code Snippet. It looks like this:
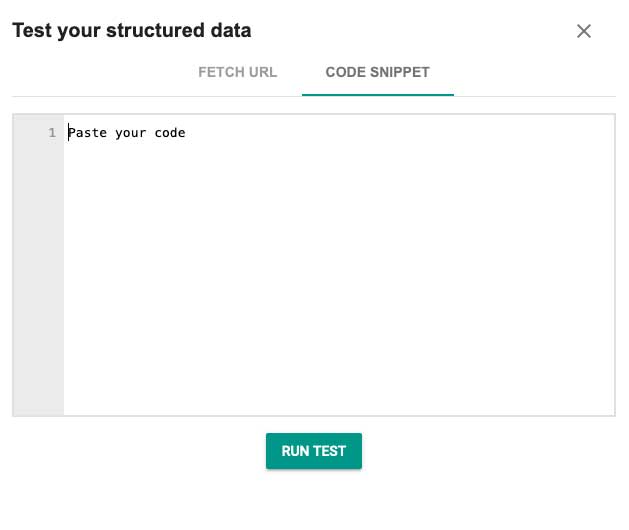
Paste in the code from the Schema creation tool. It will look something like this:
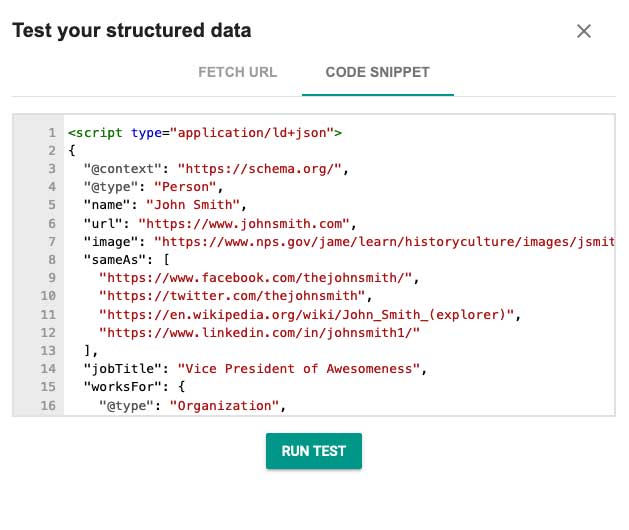
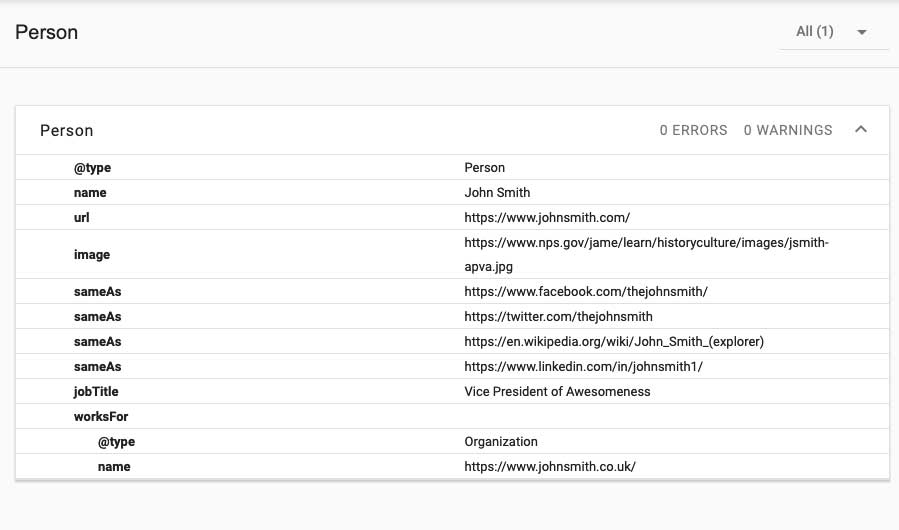
Now, click “Run Test”. It should return a result with no errors. It might look a lot like this:
Step 4: Add the new schema markup to your Squarespace website
Now, let’s add this code snippet to your Squarespace website:
- Log in to your Squarespace account and select the site you want to add the schema markup to.
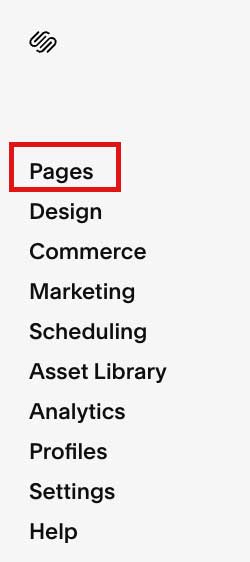
- From the home menu, click on “Pages”

- Click on the website home page. Then, click the settings gear to the right of the name (you may need to hover). Once you do so, it should look like this:

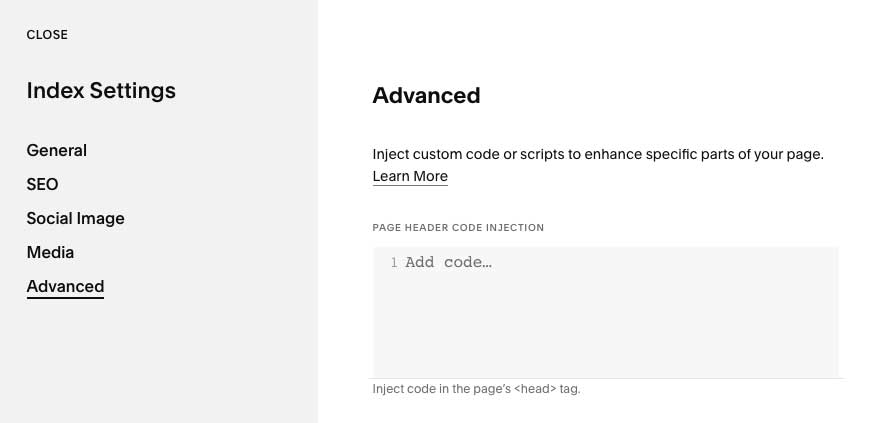
- Now, paste the copied schema markup from the generator in the box that says “Add code…”. It will look something like this:

- Next, click SAVE in the upper left corner to finish..
You’re done!
Tags: SEO.